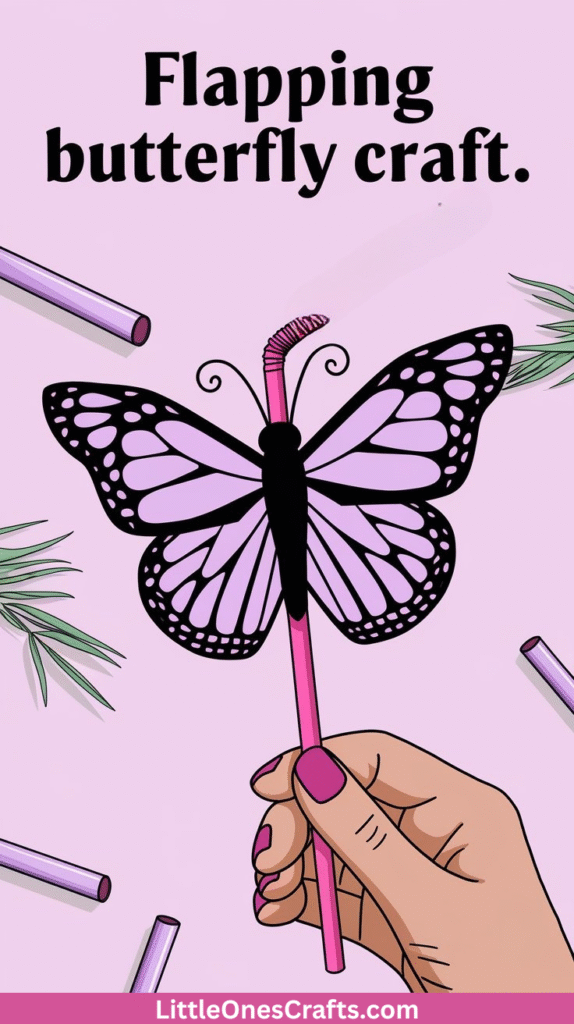
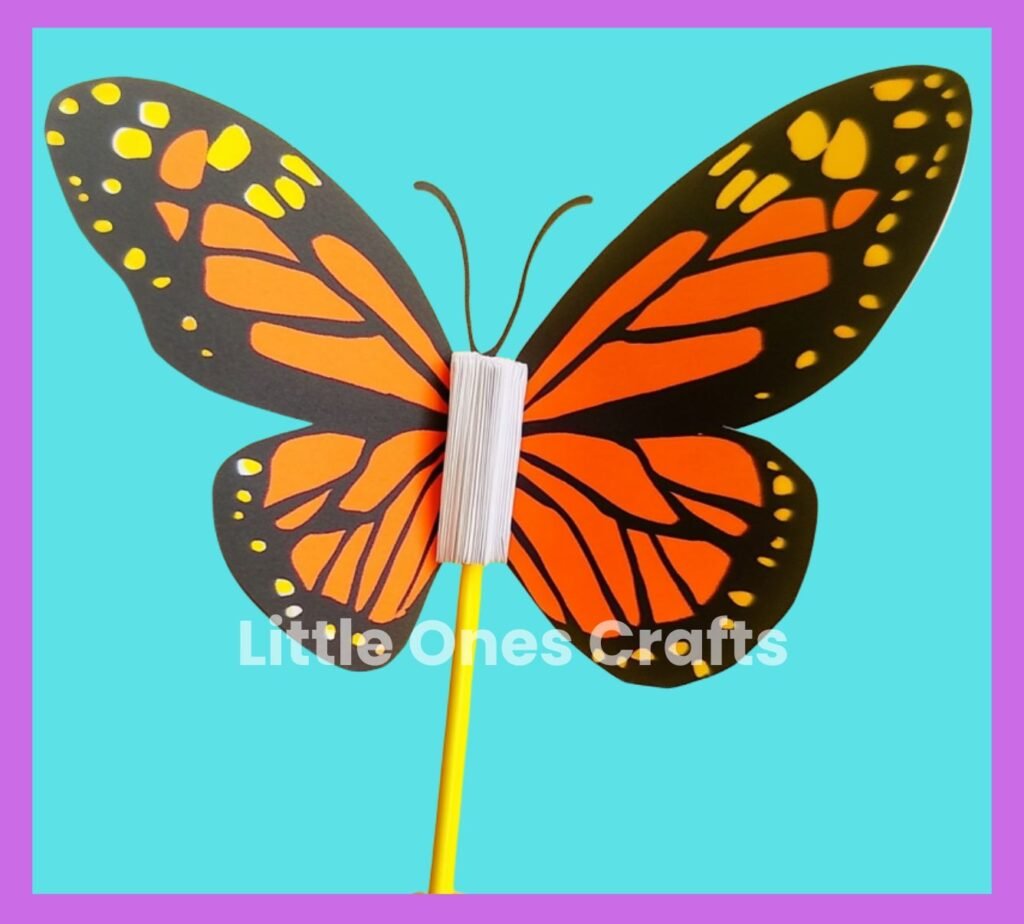
Hey there, crafty parents and teachers! Are you looking for a fun activity that’ll keep little hands busy while creating something truly magical? Today I’m sharing one of my absolute favorite crafts with you – the flapping butterfly!
This adorable paper butterfly isn’t just pretty to look at. When you pull the string, its wings actually flap up and down, creating the most delightful movement that never fails to amaze kids. I’ve done this craft with my own toddler countless times, and it’s perfect for ages 3 and up (with a little help from grown-ups for the younger ones).

What makes this craft extra special is that it uses simple materials you probably already have at home. No fancy supplies needed – just paper, crayons, and a bit of string. It’s one of those projects where the magic happens in the making, and kids get to see their creation come to life right before their eyes. Tiny Hands, Big Imagination – that’s exactly what this craft is all about!
Why You’ll Love This Craft
- Super quick setup – Takes less than 5 minutes to gather everything you need
- Mess-free crafting – No paint, no glue disasters, just clean simple fun
- Actually works – The butterfly really flaps its wings when you pull the string
- Perfect for quiet time – Keeps kids focused and engaged for 15-20 minutes
- Great for groups – Easy to do with multiple children at once
- Builds confidence – Kids feel so proud when they see their butterfly “fly”
Materials Needed
Here’s what you’ll need for this delightful craft:
- 1 sheet of white paper (8.5 x 11 inches works perfectly)
- Crayons, markers, or colored pencils
- 1 piece of yarn or string (about 12 inches long)
- Scissors (for adult use)
- 1 small paper clip
- Optional: Stickers, glitter, or stamps for decorating
Easy substitutions: Don’t have white paper? Use any light-colored paper you have around. Old magazine pages work too if they’re not too thick. No yarn? Try thin ribbon, embroidery floss, or even dental floss in a pinch!
Instructions

1. Prepare your paper Start by folding your paper in half lengthwise, then unfold it. You should have a nice crease down the middle. This will be your guide for creating symmetrical butterfly wings.
2. Draw the butterfly shape With the paper still unfolded, draw half of a butterfly wing on one side of the crease. Make it big and bold – fill up most of the paper! The wing should be wider at the top and narrower where it meets the body. Don’t worry about making it perfect; wonky butterflies are the most charming ones.
3. Fold and cut Fold the paper along your original crease line, making sure your butterfly drawing is on the outside. Now cut along the lines you drew, cutting through both layers at once. When you unfold, you’ll have a perfectly symmetrical butterfly! Kids love this reveal moment.
4. Create the body Fold the butterfly in half again along the center crease. About an inch from the fold, draw a line from the top of the butterfly to the bottom. This will be where you cut to separate the wings from the body area.
5. Make the wing cuts Cut along the line you just drew, but stop about an inch from the bottom. You want to keep the bottom connected. Now you should have two separate wing sections that can move independently, connected only at the bottom.
6. Prepare the string Take your piece of yarn or string and tie a small knot at one end. This knot will prevent the string from pulling all the way through later.
7. Attach the string Open up your paper clip and poke a small hole through the bottom center of your butterfly, right where the wings connect. Thread your string through this hole from the back to the front, with the knotted end staying in the back.
8. Create the pull mechanism About 6 inches down from the butterfly, tie another knot in your string. This gives you something to grip when you want to make the wings flap.
9. Decorate your butterfly Now comes the fun part! Let your little one color, draw patterns, add stickers, or decorate however they want. Encourage them to make each wing different or create matching patterns. There’s no wrong way to decorate a butterfly!
10. Test the flapping Hold the butterfly gently by the body and pull down on the string. The wings should flap up and down! If they don’t move freely, check that your cuts are deep enough and that nothing is stuck together.
11. Final touches If you want to make it extra special, help your child add antennae by drawing them on or attaching small pieces of curled paper. Some kids like to add faces to their butterflies too!
Helpful Tips
For younger toddlers (ages 2-3): Let them focus on the decorating while you handle the cutting and string attachment. They’ll still feel involved and proud of their creation.
Classroom hack: Pre-cut the butterfly shapes ahead of time and have kids just do the decorating and string attachment. This saves time and ensures everyone succeeds.
Storage tip: These butterflies can get tangled easily. Store them in individual sandwich bags or hang them on a small hook.
Troubleshooting flapping: If the wings aren’t moving well, try making your cuts a bit deeper. Sometimes the paper needs more freedom to move.
Weather activity: This craft is perfect for rainy days when you need something engaging but not too messy.
Group activity: Make several butterflies and have a “butterfly dance” where kids make their butterflies flap to music!
Learning Benefits
This simple craft packs a surprising amount of learning into one fun activity. Here’s what your little ones are gaining:
Fine motor skills development: All that coloring, cutting guidance, and string manipulation helps strengthen those tiny hand muscles that are so important for writing later on.
Cause and effect understanding: Kids quickly learn that pulling the string makes the wings move. This simple mechanism helps them understand how actions create reactions.
Following directions: The step-by-step process teaches kids to listen carefully and follow instructions in order.
Creative expression: The decorating phase lets kids make choices about colors, patterns, and designs, building their artistic confidence.
Focus and patience: This craft requires enough attention to be engaging but isn’t so complex that it becomes frustrating.
Pride in accomplishment: There’s something magical about creating a toy that actually works. Kids beam with pride when they see their butterfly flapping!
Basic engineering concepts: Without realizing it, kids are learning about simple machines and how movement can be transferred through strings and pulleys.
FAQ and Troubleshooting
Q: My butterfly’s wings aren’t flapping. What went wrong? A: Check that you’ve cut deep enough into the wing sections. The wings need to be able to move freely. Also, make sure your string isn’t too tight – it should have a little slack when the wings are at rest.
Q: Is this safe for my 2-year-old? A: With supervision, absolutely! Just keep an eye on the string and make sure they don’t put it around their neck. For very young children, you might want to make the string shorter.
Q: Can we use construction paper instead of regular paper? A: Regular copy paper works best because it’s light enough to move easily. Construction paper can work but might be a bit heavy for smooth flapping.
Q: What if we don’t have a paper clip? A: You can carefully poke a hole with a pencil point, or even use a small nail with adult help. The hole just needs to be big enough for your string to pass through.
Q: How long will this craft take? A: Most kids can complete this in 15-20 minutes, including decorating time. Pre-cutting the shapes can reduce this to about 10 minutes.
Q: My child wants to make more butterflies. Any variations? A: Try making different sizes, or experiment with different wing shapes! You could also make birds, bees, or even simple flowers that “wave” in the breeze.
Q: The string keeps breaking. Any suggestions? A: Try using embroidery floss or thin yarn instead of regular string. These tend to be stronger and less likely to snap with enthusiastic pulling!
Extension Activities
Once your butterfly is complete, the fun doesn’t have to stop there! Here are some ways to extend this craft:
Create a butterfly garden: Make multiple butterflies in different colors and sizes, then “plant” them around your house or classroom by hanging them in windows or from the ceiling.
Butterfly stories: Encourage your child to create a story about their butterfly. Where does it fly? What does it see? This builds language skills and imagination.
Science connection: Talk about real butterflies and how they move their wings. You might even look up pictures of different butterfly species for inspiration.
Outdoor play: Take your butterfly outside and let it “fly” in the garden. Kids love pretending their creation is visiting real flowers.
Gift giving: These make wonderful gifts for grandparents, teachers, or friends. Kids love sharing their creations!
Final Thoughts
There’s something truly special about watching a child’s face light up when they see their paper butterfly come to life. This craft has been a favorite in our house for years, and I never get tired of seeing that moment of wonder when the wings first start flapping.
What I love most about this project is how it combines creativity with a touch of science and engineering. Kids don’t realize they’re learning about mechanisms and cause-and-effect – they’re just having fun making something beautiful that actually works.
The best part? You probably have everything you need to make this craft right now. No special trips to the store, no expensive supplies, just simple materials that create something truly magical.
I hope your little ones love this craft as much as mine do. There’s nothing quite like the joy of creating something with your own hands, especially when it comes to life with a simple pull of a string.
Want more fun crafts like this? Subscribe to our newsletter and get weekly creative ideas straight to your inbox! We’re always sharing new ways to keep little hands busy and big imaginations growing.


